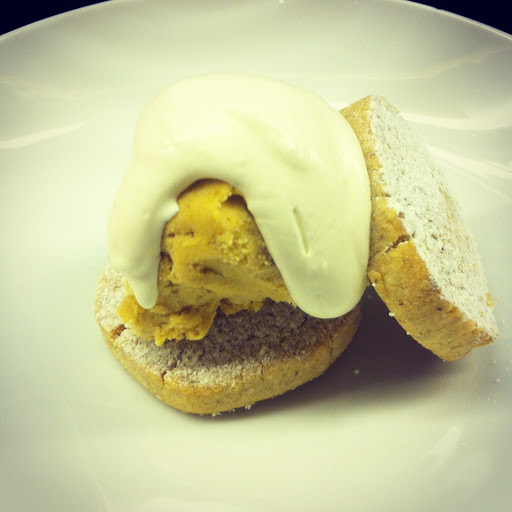
I am quite pleased with how the tiramisu worked out. It definitely tasted good. Everyone had seconds. I would like my sponge to be a bit less crumbly though – which could be a challenge with no eggs and no gluten, but I’ll persevere.
I started out by using this recipe, which I bet is pretty awesome if you can eat gluten. But, as always, I made a few adjustments.
INGREDIENTS FOR LAYERS 1 & 3 (these quantities for each layer)
about 1/3 of my gluten free vegan sponge – sliced thinly
Liquid Ingredients :
150ml strong espresso coffee
3 Tbsp Brandy
Method
Carefully line your bowl (I used a 1L pyrex dish) with a tight layer of sponge. Mix the strong coffee with the brandy and drizzle carefully over the layer of sponge so it all gets a good soaking.
For layers 2 & 4, I followed Mouthwatering vegan’s instructions…mostly:
INGREDIENTS FOR CHOCOLATE FILLING (LAYER 2)
1 350g pack silken tofu, drained.
125g vegan dark chocolate, melted – I used Green & Blacks 70% cocoa.
2 Tbsp brandy
1½ Tbsp maple syrup
METHOD
- Place the tofu and the remaining ingredients in a food processor, and process until very thick and creamy. Then spoon this on to the coffee biscuit base, spreading out carefully with a spatula as it’s quite delicate. This layer is delicious so don’t scrape your bowl out too well as you’ll want to taste test it.
- Place in the freezer for a half hour before attempting the 3rd layer.
- Layer 3 is identical to the 1st layer, so repeat it here and gently flatten with a back of a teaspoon.
- Pop it in the fridge while you get on with layer 4.

‘MASCARPONE CHEESE’ VANILLA (LAYER 4)
200g raw cashew nuts, soaked in boiling water for at least half an hour
1 tsp nutritional yeast (this stuff is delicious – I’d never had it before)
2 tsp vanilla extract
2 Tbsp maple syrup
½ cup (125 mL) cold water
THICKENER INGREDIENTS
1½ tsp agar flakes mixed with ½ cup boiling water and boiled until dissolved

METHOD
- Place the mascarpone ingredients (not the thickener ingredients yet) in your food processor…after you’ve licked out all the chocolate layer… and process until totally smooth – this will take quite a while, so be patient, and scrape down the inside of the bowl regularly.
- Add the thickener to this mixture, and process for a further minute.
- The mixture should be ready for pouring, but first bring out the base ingredients from your fridge.
- Now carefully spoon the cashew cream mixture from your blender on to the 3rd sponge layer, and once again even out with the back of a spoon.
- Place in the fridge overnight, or until set.
- Dust with cocoa powder before serving, and enjoy!